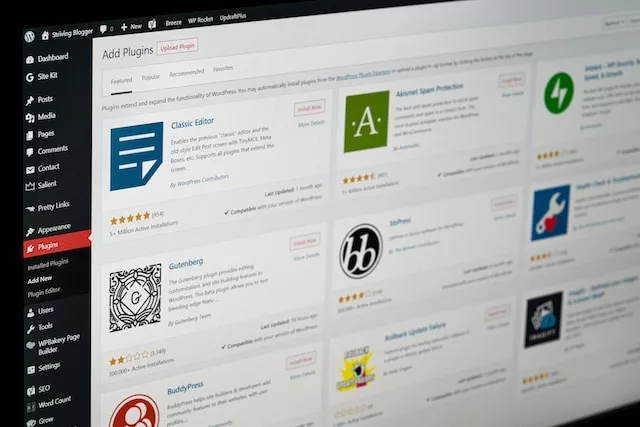
To manually install WordPress, follow these steps:
- Download and unzip WordPress: Download the latest version of WordPress from the official website and unzip the files to a directory on your computer.
- Create a database: Log in to your web hosting account and create a new database for your WordPress installation. Take note of the database name, username, and password as you will need these later.
- Rename wp-config-sample.php: In the WordPress directory, find the file named wp-config-sample.php and rename it to wp-config.php.
- Edit wp-config.php: Open the wp-config.php file in a text editor and enter your database name, username, and password in the appropriate fields. Save the file and close it.
- Upload files to your server: Use an FTP client to upload the entire WordPress directory to the root directory of your web server. This is typically a directory called public_html or www.
- Run the WordPress installation: Open your web browser and go to http://yourdomain.com/wp-admin/install.php. Follow the prompts to complete the WordPress installation, including selecting your language, entering your site title and admin credentials, and installing plugins and themes.
- Log in to your new WordPress site: Once the installation is complete, you can log in to your new WordPress site using the admin account you created during the installation process.
Manually installing WordPress can be more complex than using a one-click installer, but it gives you more control over the installation process. Follow these steps to manually install WordPress and start building your website today.

